> ## Documentation Index
> Fetch the complete documentation index at: https://statsig-4b2ff144-devin-1763168466-llm-docs-audit.mintlify.site/llms.txt
> Use this file to discover all available pages before exploring further.
# mParticle
> Enabling the [mParticle](https://www.mparticle.com/) integration for Statsig allows Statsig to receive events from mParticle. You can find all events
## Overview
Enabling the [mParticle](https://www.mparticle.com/) integration for Statsig allows Statsig to receive events from mParticle.
You can find all events that Statsig receives from mParticle in the [Metrics](/metrics) tab in the Statsig console. Statsig will automatically include these events in [Pulse](/pulse/read-pulse) and [Experiment](/experiments-plus/monitor) results for your feature gates and experiments respectively.
## Configuring Incoming Events
1. From the [API Keys](https://console.statsig.com/api_keys) tab in the Statsig console, copy the Statsig `Server Secret Key`.
2. Use your Statsig `Server Secret Key` to configure a Statsig Event Integration via mParticle's integrations directory.
### Mapping User IDs
In order to associate your mParticle events with your Statsig Feature Gates or Experiments, you must use mParticle's [IDSync framework](https://docs.mparticle.com/guides/idsync/introduction/) to ensure your mParticle events pass along the same user IDs used with the Statsig SDK.
## Configuring Outbound Events
To export your Statsig events to mParticle:
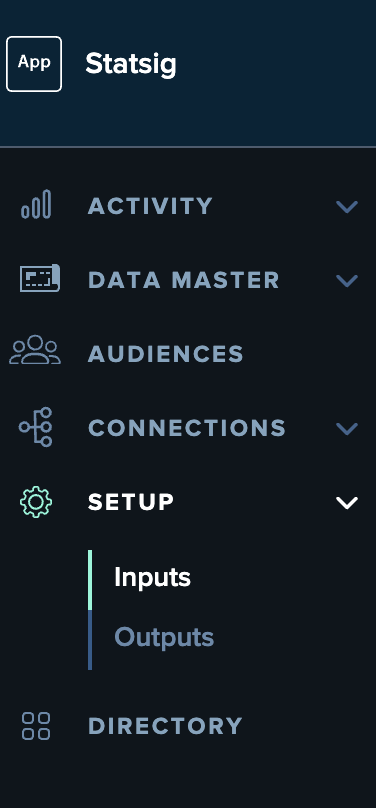
1. Go to your mParticle account and choose `Setup` > `Inputs` on the left-hand column to start configuring your integration.
 2. Click on the `Feeds` tab within the page that loads, click on `Add Feed Input` button, and then search for `Statsig` and click on the option.
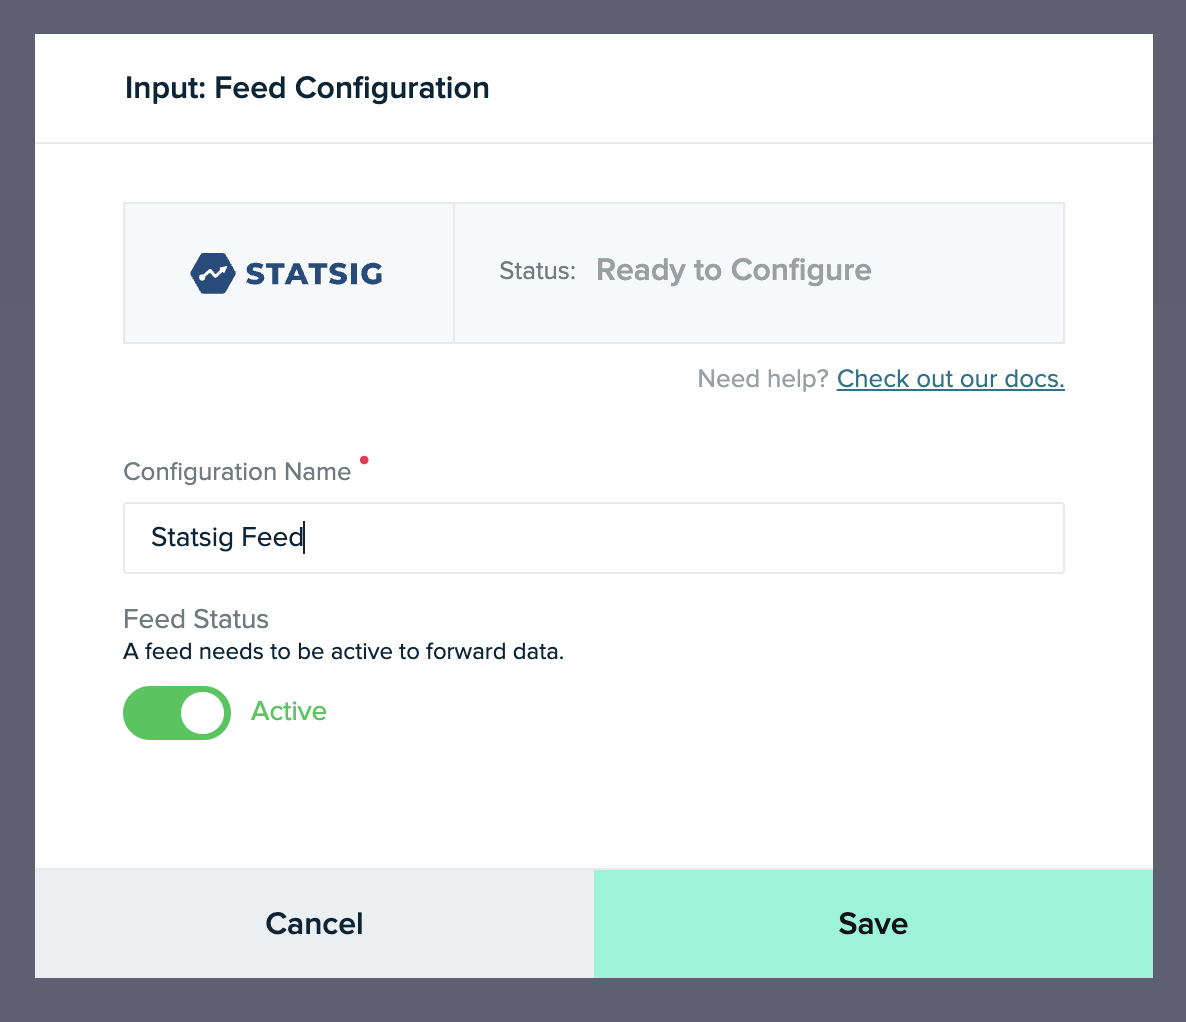
 3. Provide a name for your `Statsig Feed` and click `Save`.
 4. Copy the `Server to Server Key` and `Server to Server Secret` for the next step.
5. Log into the Statsig console and navigate to the [**Integrations**](https://console.statsig.com/integrations) page.
6. Click on the `mParticle` card and switch to the `Outbound` tab. Paste the `Server to Server Key` and `Server to Server Secret` in their respective boxes and **Enable** the integration.
4. Copy the `Server to Server Key` and `Server to Server Secret` for the next step.
5. Log into the Statsig console and navigate to the [**Integrations**](https://console.statsig.com/integrations) page.
6. Click on the `mParticle` card and switch to the `Outbound` tab. Paste the `Server to Server Key` and `Server to Server Secret` in their respective boxes and **Enable** the integration.